Create & manage groups

Groups in Notion allow you to bring people together and collaborate more easily. Learn about group owners, plus how to create and manage groups 💼
ข้ามไปยังคำถามที่พบบ่อยYou can set varying permissions for different groups and teams without having to divide your people into different workspaces. Create groups inside one workspace and grant them different levels of access page by page.

Note: Only workspace members can be assigned to groups. Groups can't contain workspace guests.
Workspace owners and membership admins can create and edit groups. To do this:
Go to
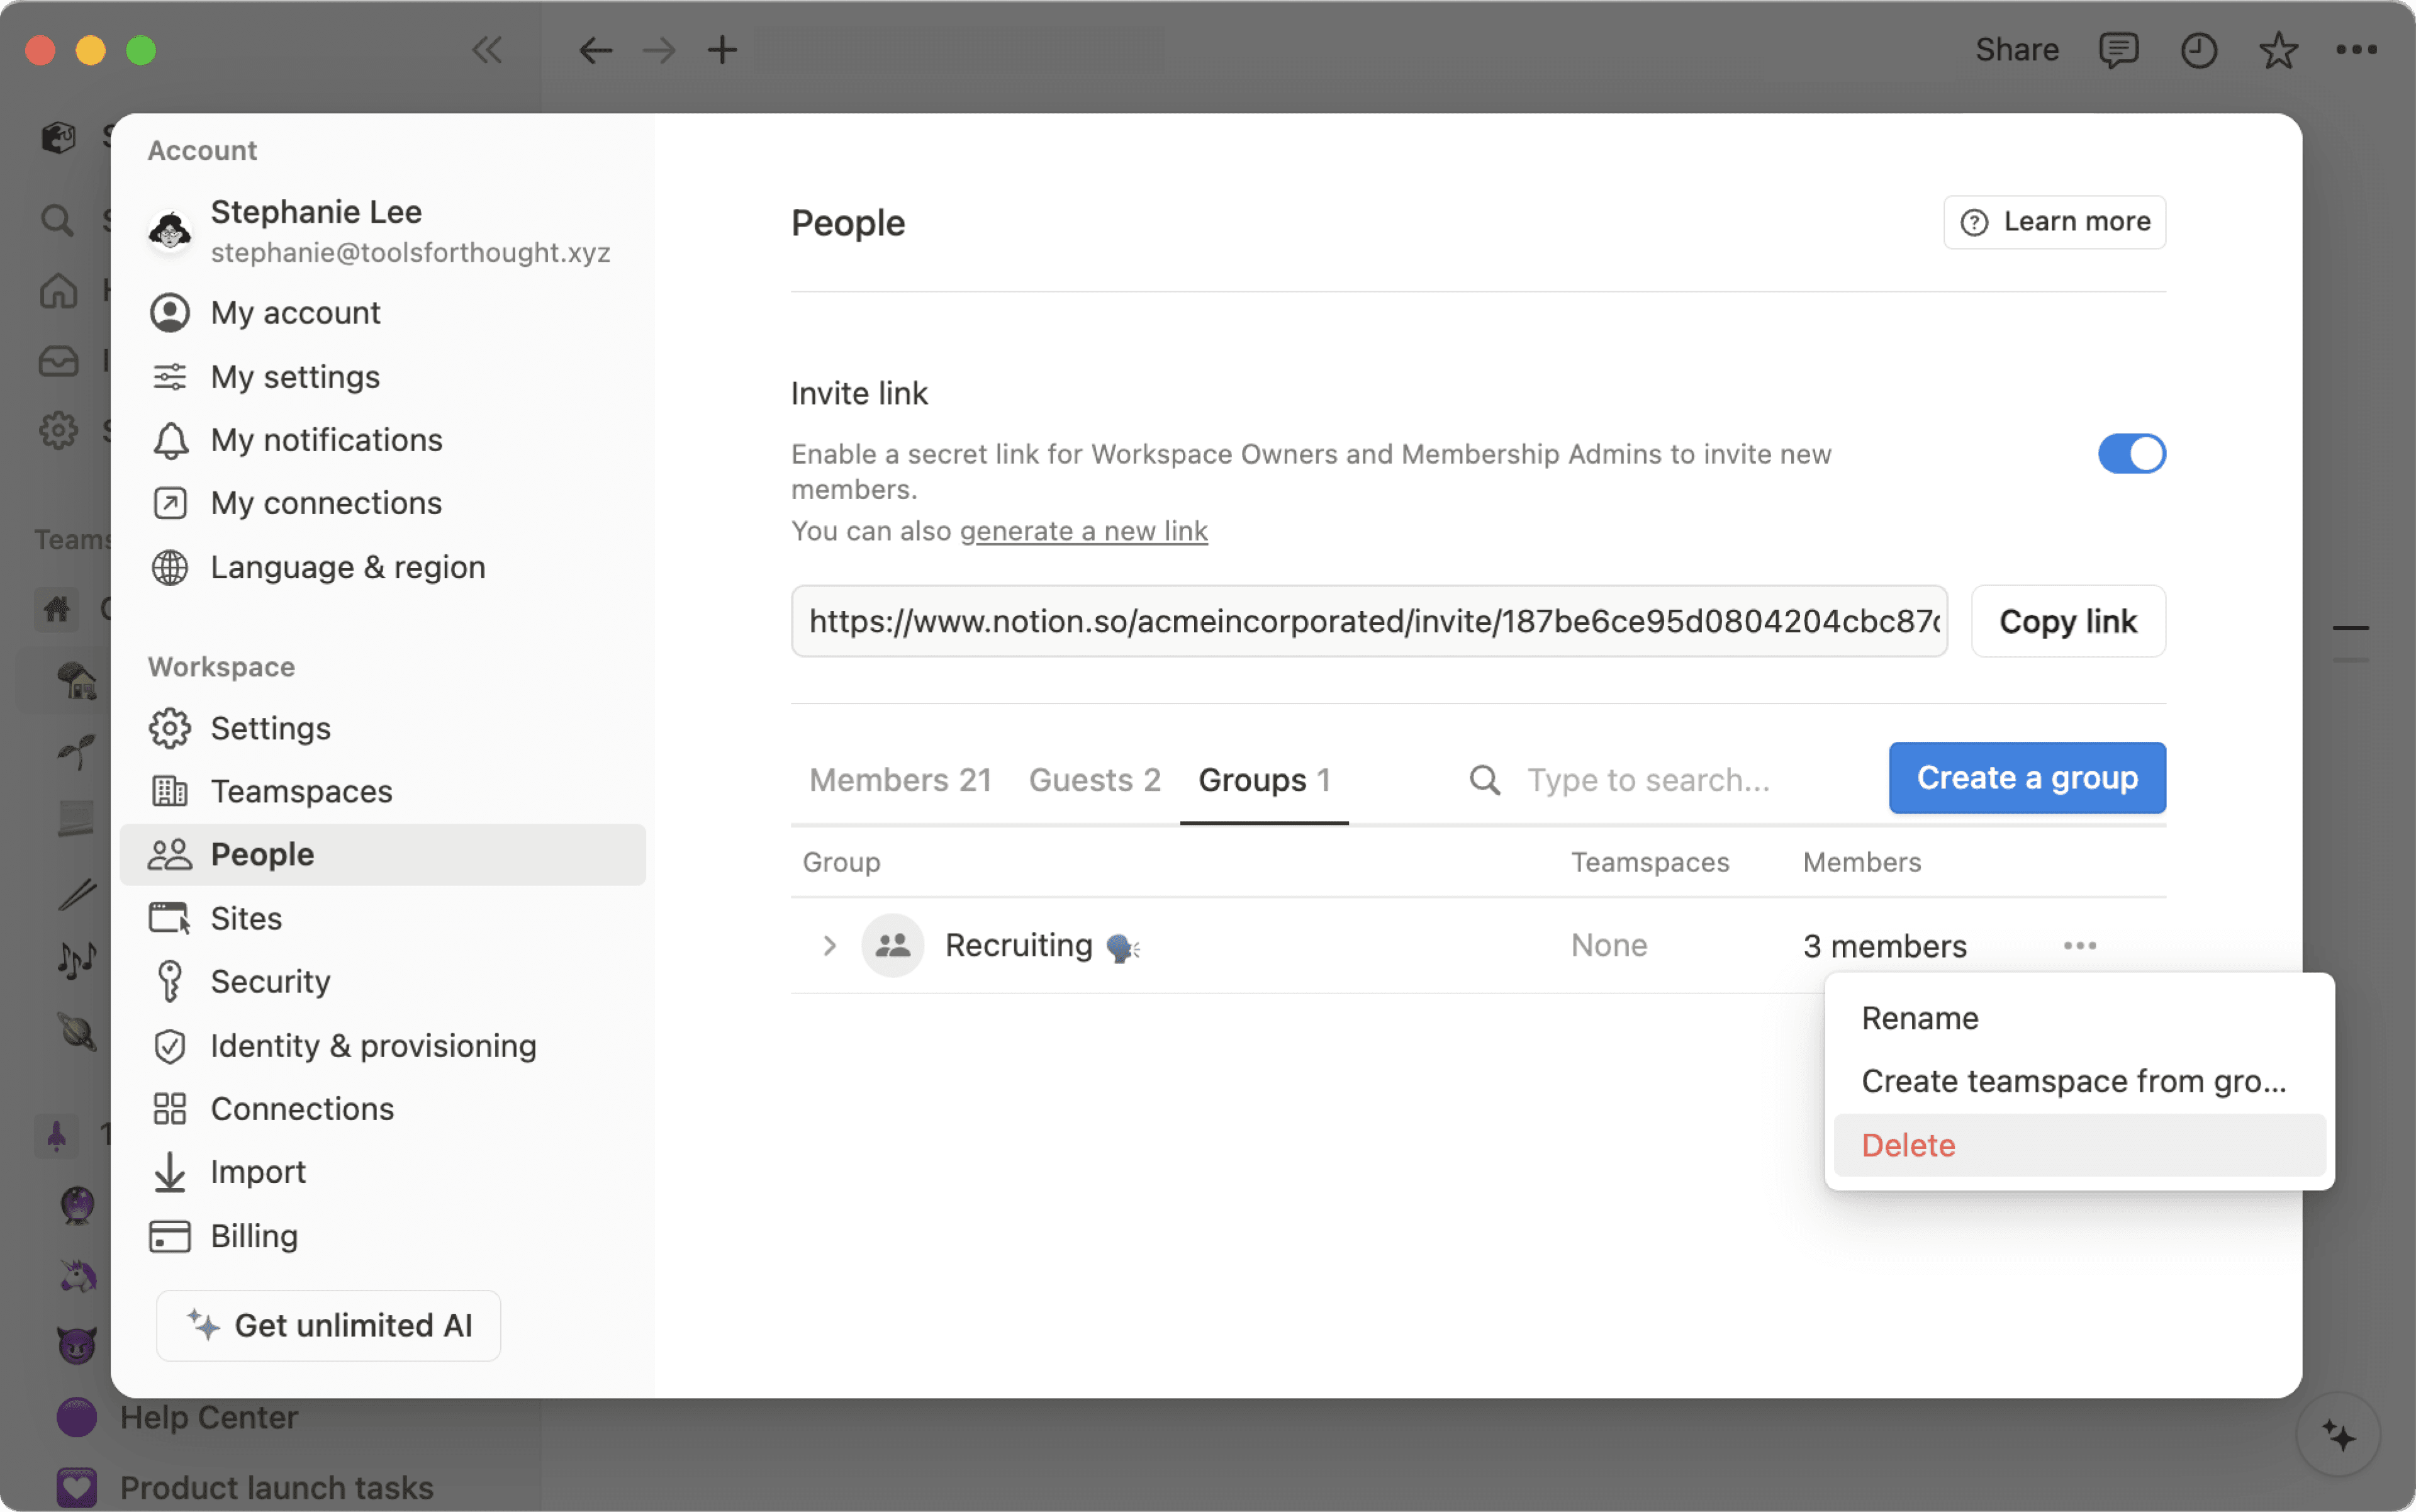
Settings→PeopleorMembers(depending on your plan) →Groups.Select
Create a groupand enter a name for your group. To set an icon for the group, just click the emoji icon that appears on hover.Toggle open your new group and select
Add members.Add as many members as you want to any group.
You can also click
Removeto the right of any group member.Select
•••next to a group toRenameit,Create teamspace from group, orDeleteit.You can always search someone's name or email to see which group they're in.
If your workspace allows members to create groups, any member can select Create a group. The person who creates the group will become a group owner by default.
Workspace owners and membership admin can assign or manage a group owner.
To add or manage group owners:
Go to
Settings→Members.Select the three-dot menu next to a member.
Select
Make group ownerorRemove from group.
Group owners can manage a specific group without needing to be a workspace owner or membership admin. Depending on your workspace settings, group owners can:
Add or remove members from the group.
Delete the group.
Rename the group.
Assign other group owners, and change owners to members.
Create teamspaces from a group, or remove teamspace associations from a group.
Workspace owners and membership admins can assign one or more group owners to a group. Group owners can’t manage other groups unless they’re also a workspace owner or membership admin.
If your organization provisions groups through SCIM, some groups may be labeled Synced. These groups are managed by your identity provider (like Okta or Microsoft Entra ID).
If you try to rename a synced group or change its membership in Notion, you’ll see a warning. Changes made in your identity provider can overwrite edits made in Notion.
To learn more about SCIM provisioning, see this article.
For any page, choose which groups can read, comment, edit, and share it. To share a page with a group:
Click
Share, thenInvite. You'll see all groups at the bottom of the pop-up.Pick a group, then choose what type of access you'd like to give that group from the dropdown:
Full access: They can edit and share the page.
Can edit: They can edit the page's content, but they can't share the page. (This is only available on paid plans.)
Can comment: They can only read and comment, not edit or share.
Can view: They can only read the content, and can't share it.
Remove: Revokes their access to the page.
Once a group has been added, you'll see it in the
Sharemenu, and you can adjust their access level in the drop-down.You can give multiple groups access at any level on the same page.
Permissions on any page also apply to all of their sub-pages.
Share a teamspace with groups
Teamspaces are a dedicated area for every team within your organization or company, and can be customized on an individual basis. Learn more about teamspaces →
To share a teamspace with groups in your workspace:
Hover over the name of the teamspace in your sidebar.
Click the
•••button, thenTeamspace settings.From here, you'll be able to search and add groups to the teamspace.
Mention a user group in a page by typing
@followed by the name of the group.If you have a person property in a database, you can mention a group in that property. You can even change the property settings to notify groups when they’re mentioned in a property — learn more here →
คำถามที่พบบ่อย
จะใช้กลุ่มแทนพื้นที่ทำงานแยกกันหลายแห่งได้อย่างไร?
จะใช้กลุ่มแทนพื้นที่ทำงานแยกกันหลายแห่งได้อย่างไร?
เราเห็นผู้คนสร้างพื้นที่ทำงานหลายแห่งแทนที่จะใช้กลุ่มเพื่อกำหนดสิทธิแบบละเอียด เช่น สร้างพื้นที่ทำงานแยกต่างหากสำหรับทีมออกแบบ ทีมการตลาด และทีมผู้บริหาร เพื่อไม่ให้กลุ่มเหล่านี้เข้าถึง แก้ไข หรือรบกวนงานของกันและกันได้ แต่เรามีวิธีแก้ปัญหาแบบง่ายๆ โดยใช้กลุ่ม:
ปิดใช้งาน
สิทธิเข้าถึงพื้นที่ทำงานเมื่อปิดใช้งานแล้ว หน้าจะไม่แสดงให้บุคคลและกลุ่มที่ไม่ได้รับสิทธิเข้าถึงโดยเฉพาะเห็นในทุกๆ หน้า โปรดให้สิทธิเข้าถึงแต่ละกลุ่มในระดับที่แตกต่างกัน ระดับการเข้าถึงเหล่านั้นจะใช้ได้กับหน้าย่อยทั้งหมดในหน้านั้น
ตัวอย่างเช่น คุณอาจมีส่วนหนึ่งของพื้นที่ทำงานสำหรับทีมวิศวกรรมโดยเฉพาะ สร้างกลุ่มของวิศวกรทุกคน จากนั้นเปิด
สิทธิเข้าถึงเต็มรูปแบบสำหรับกลุ่มนั้นในหน้าระดับบนสุดของทีมนั้น สร้างหน้าย่อยภายในหน้านั้น และจะมีเพียงทีมวิศวกรรมเท่านั้นที่เข้าถึงได้!
Who can manage groups in my workspace?
Who can manage groups in my workspace?
Workspace owners and membership admins can create and manage all groups.
Group owners can manage membership, group owners and rename the groups they own.
Can I restrict who can create groups?
Can I restrict who can create groups?
On Enterprise plans, workspace owners can restrict group creation to workspace owners and membership admins only.